Guitar Fret Leveling – From Marker Checks to Smooth, Polished Frets
A step-by-step look at guitar fret leveling in my workshop: checking the neck, using a marker to track progress, leveling, crowning, protecting the fingerboard, polishing and final care. Illustrated with 12 workshop photos.
Why does a guitar buzz when you play? One possible cause is uneven fret height. As a string vibrates, it may strike a higher fret further up the neck, producing the metallic rattle known as fret buzz. Here is a look at the fret-leveling process in my instrument workshop in Tornemark, Denmark, from the first checks to the finishing touches.
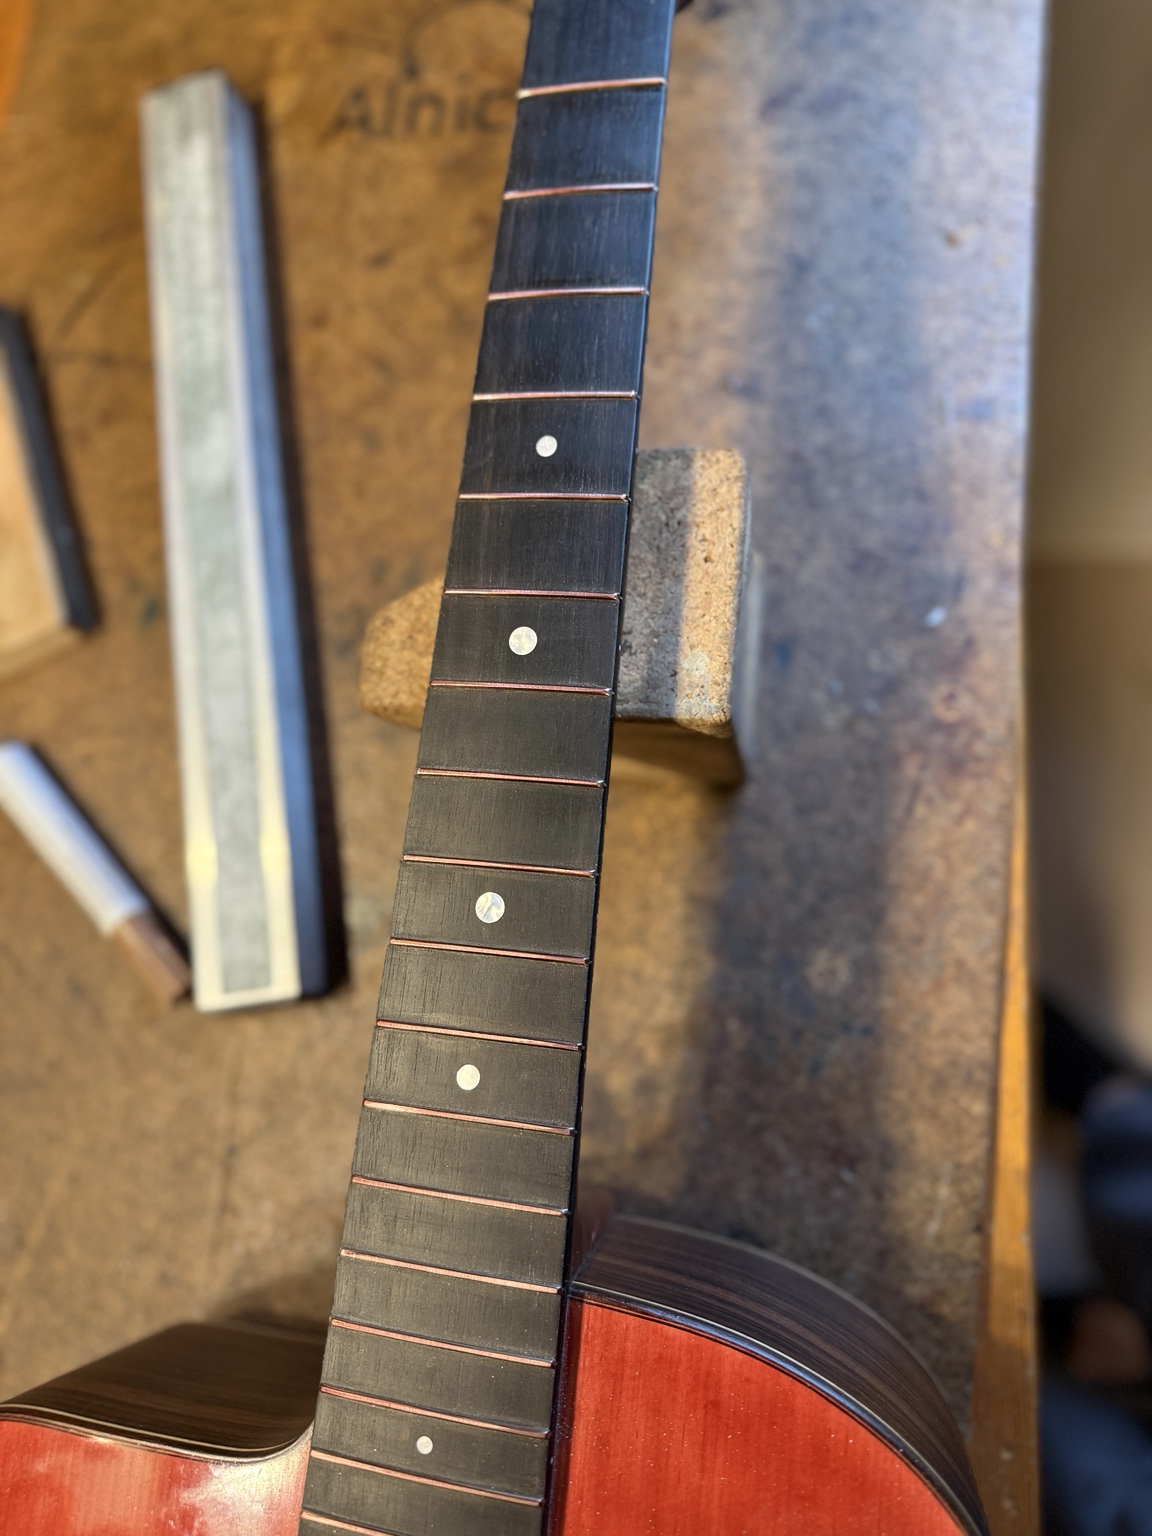
## Checking the neck and frets first
Before leveling, I check the neck relief and the condition of the frets. Finding the real cause matters: fret buzz can also result from incorrect neck adjustment or excessively low string action, so not every guitar needs a full fret level.
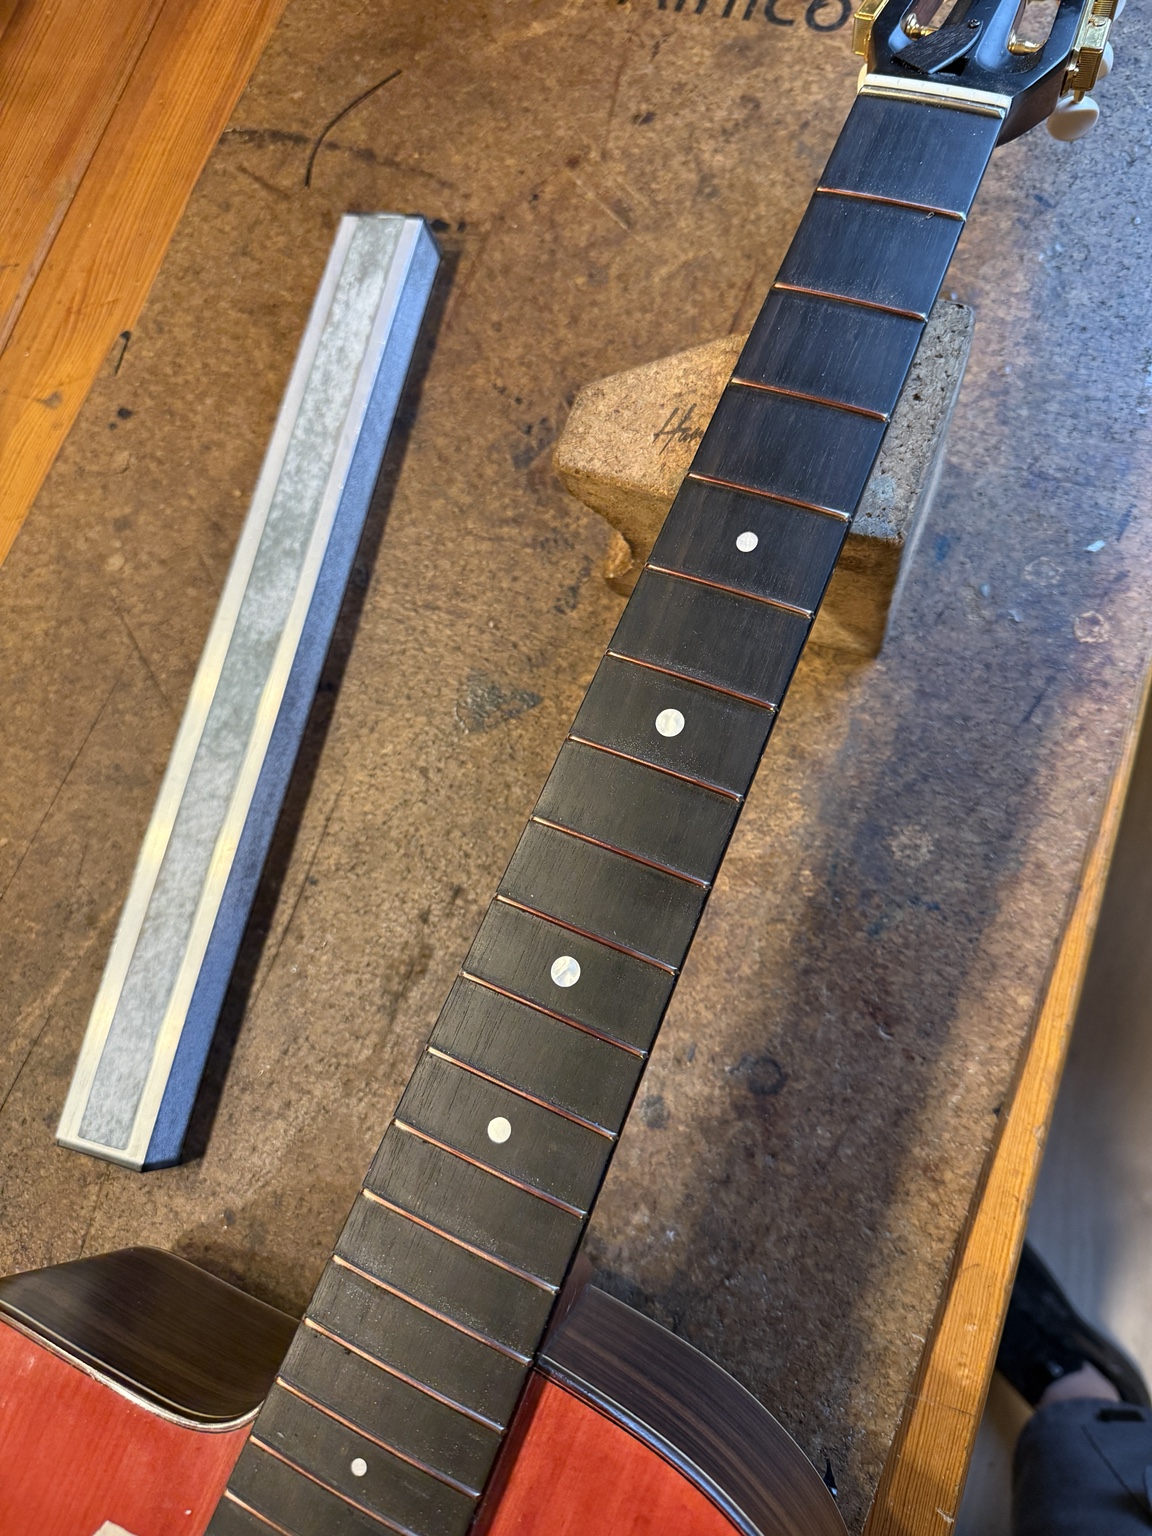
## Marking the frets to monitor progress
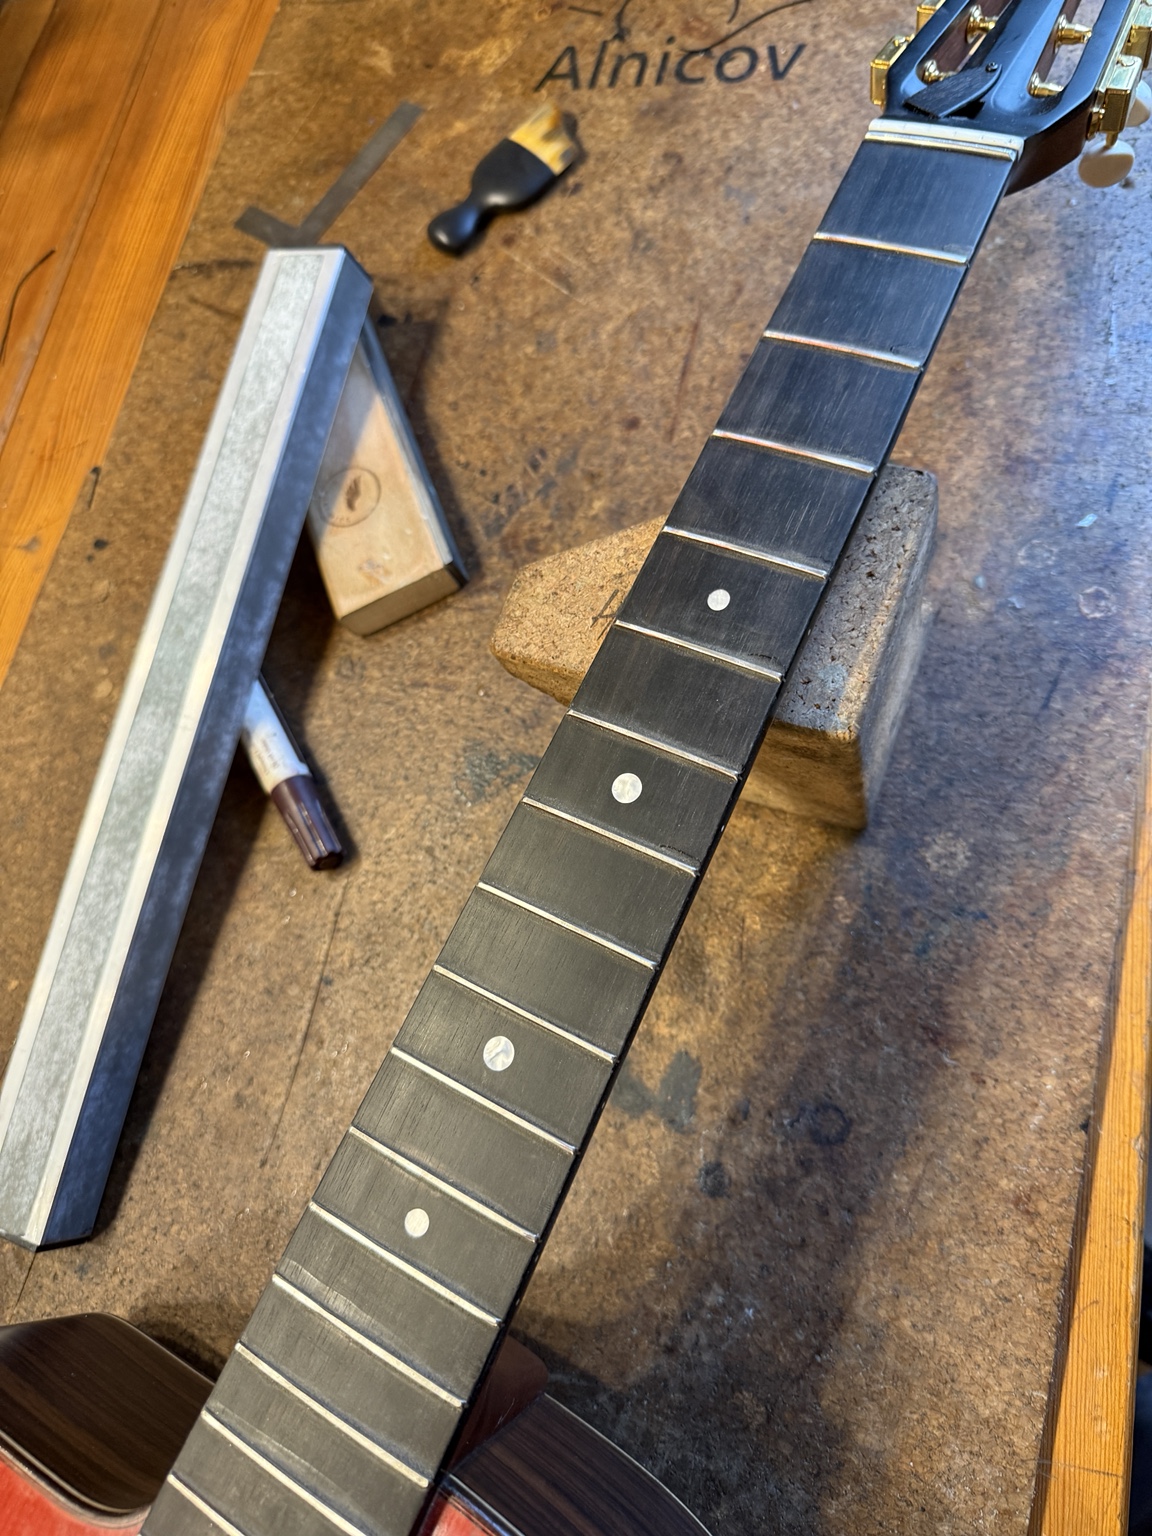
I color the tops of the frets with a marker before starting. As I work, the marker disappears wherever the leveling tool makes contact. If ink remains in an area, it means the tool has not yet touched that spot. This gives me a clear visual guide, and I repeat the marker check throughout the process.
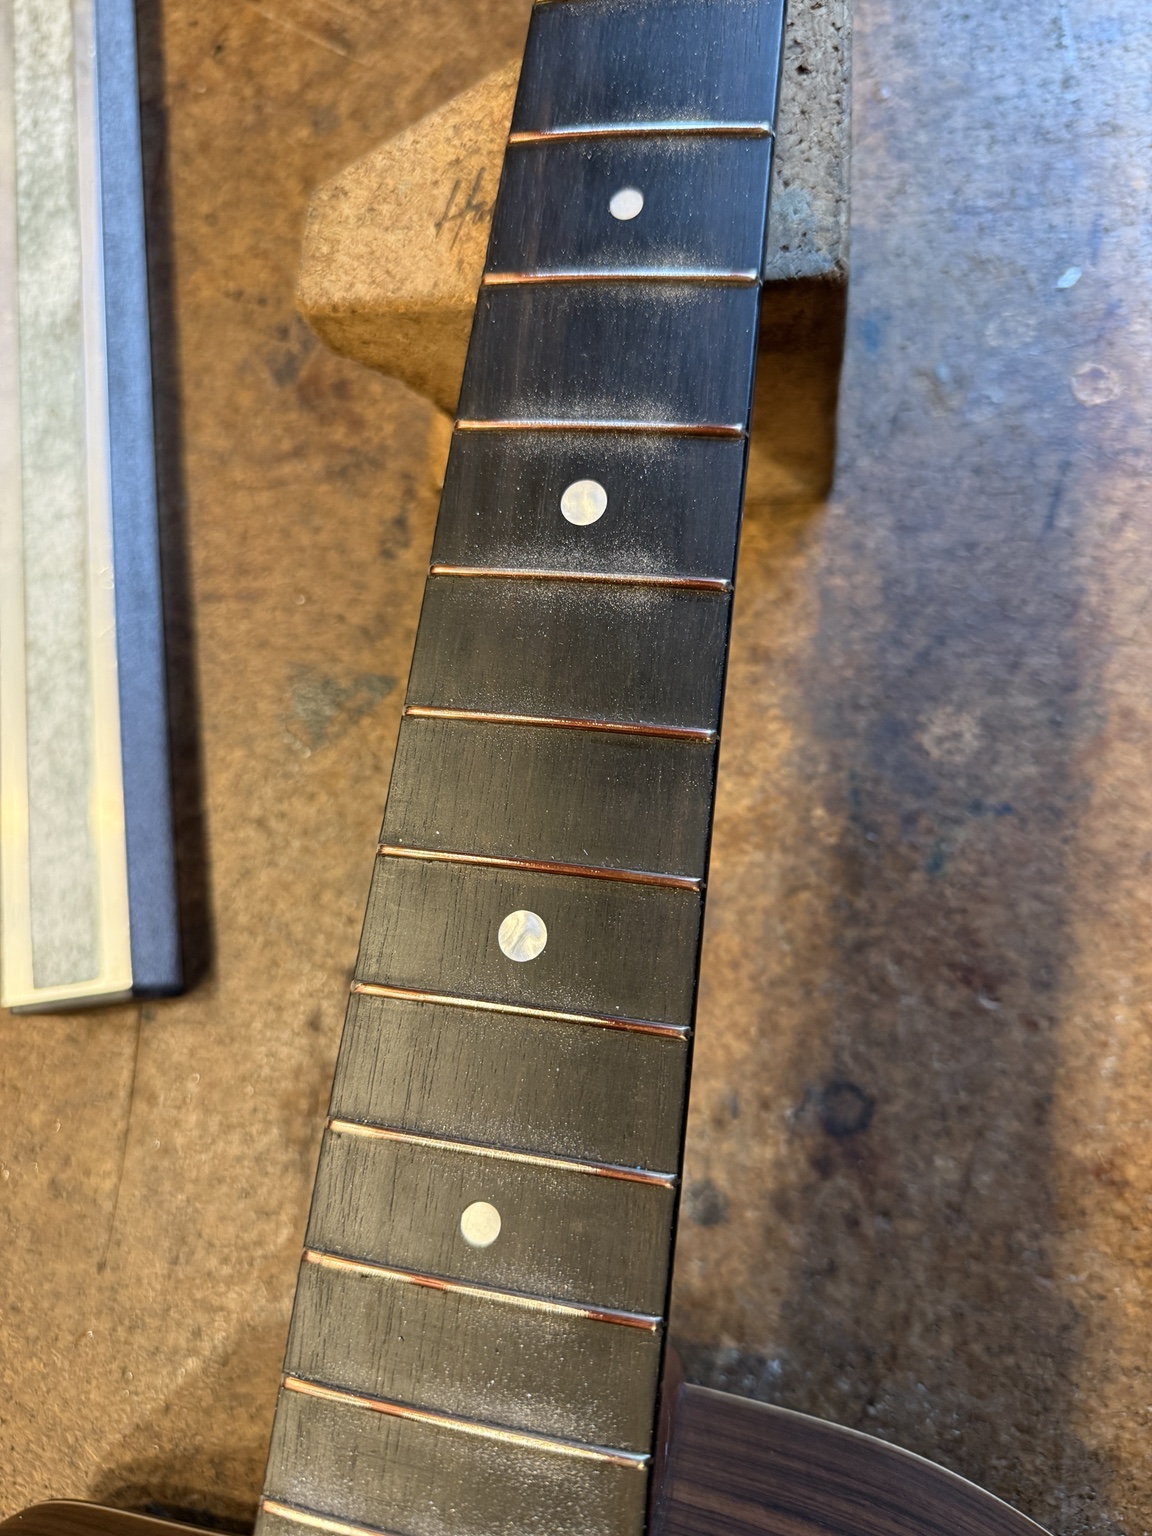
## Leveling with a precision beam
For fret leveling, I use a long, accurate leveling beam that works across several frets at once. The aim is to bring the fret tops to a consistent level relative to the neck and fingerboard. I proceed carefully, removing only as much metal as necessary.
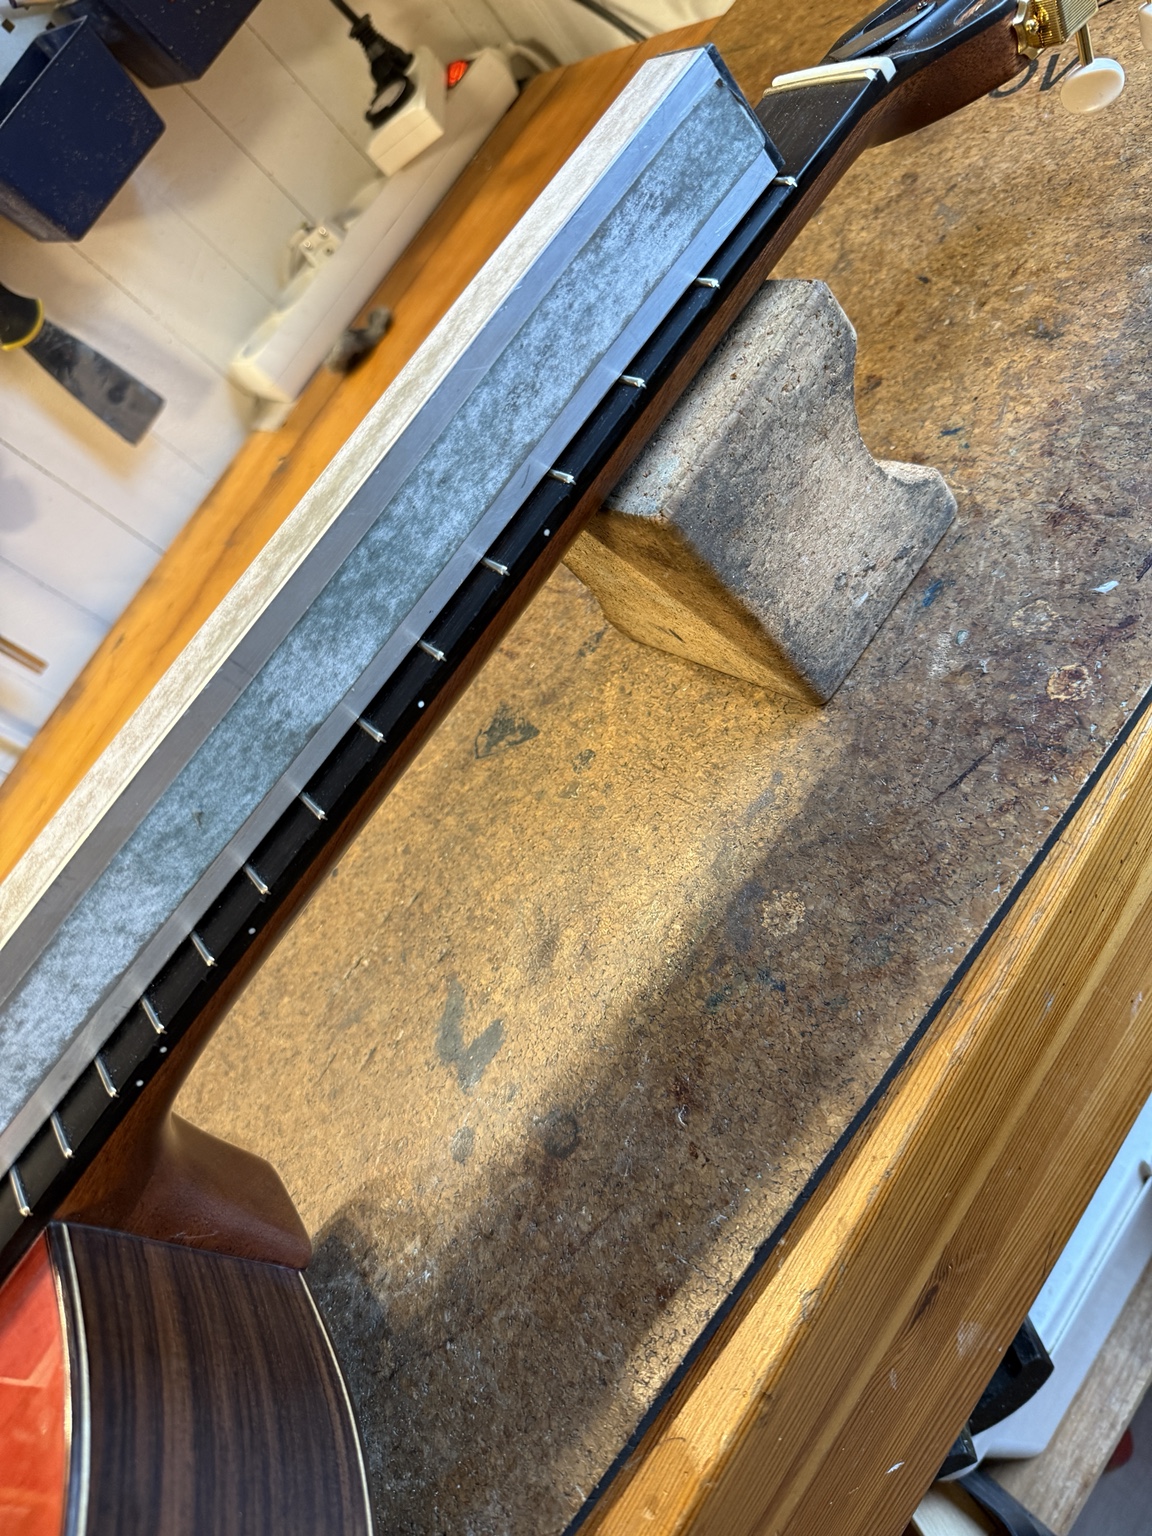
During the work, I reapply the marker and check where the abrasive is making contact. Once the checks show even contact across the relevant fret tops, the height differences have been corrected.
## Restoring the fret crowns
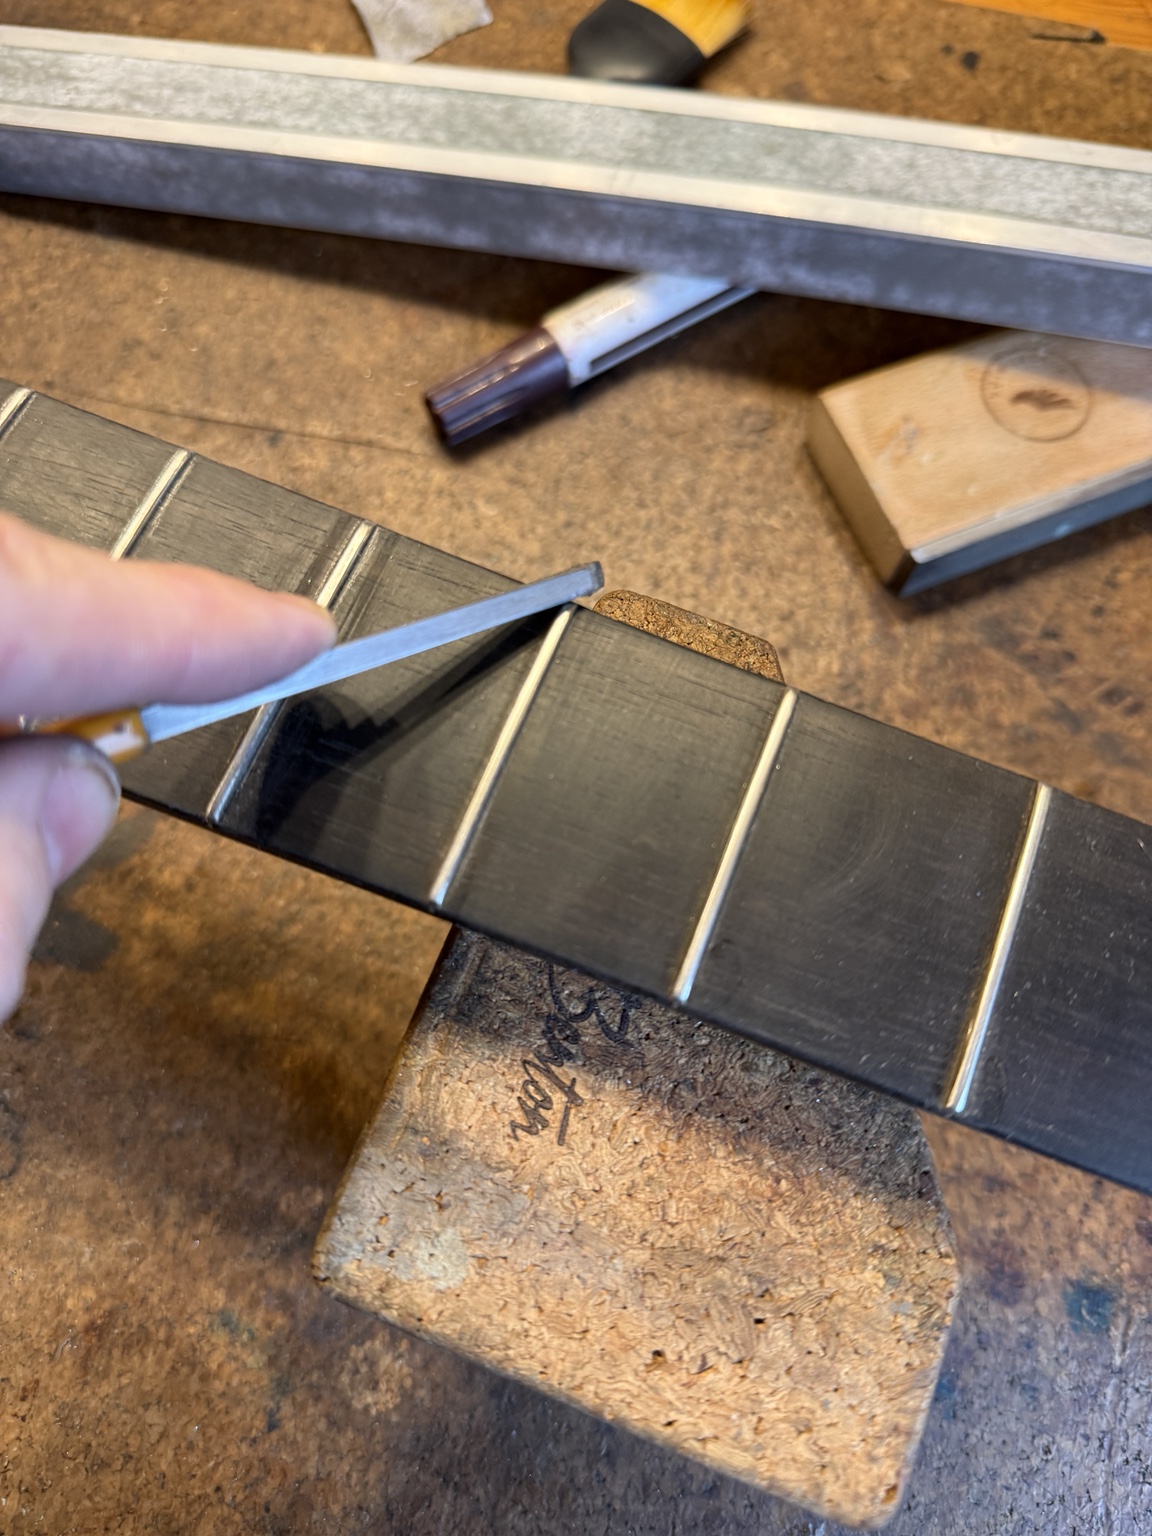
Leveling leaves a slightly flat area on top of each fret. I then use a dedicated crowning file to restore a rounded profile and a well-defined point of contact for the string. This is important for intonation, tone and playing comfort.
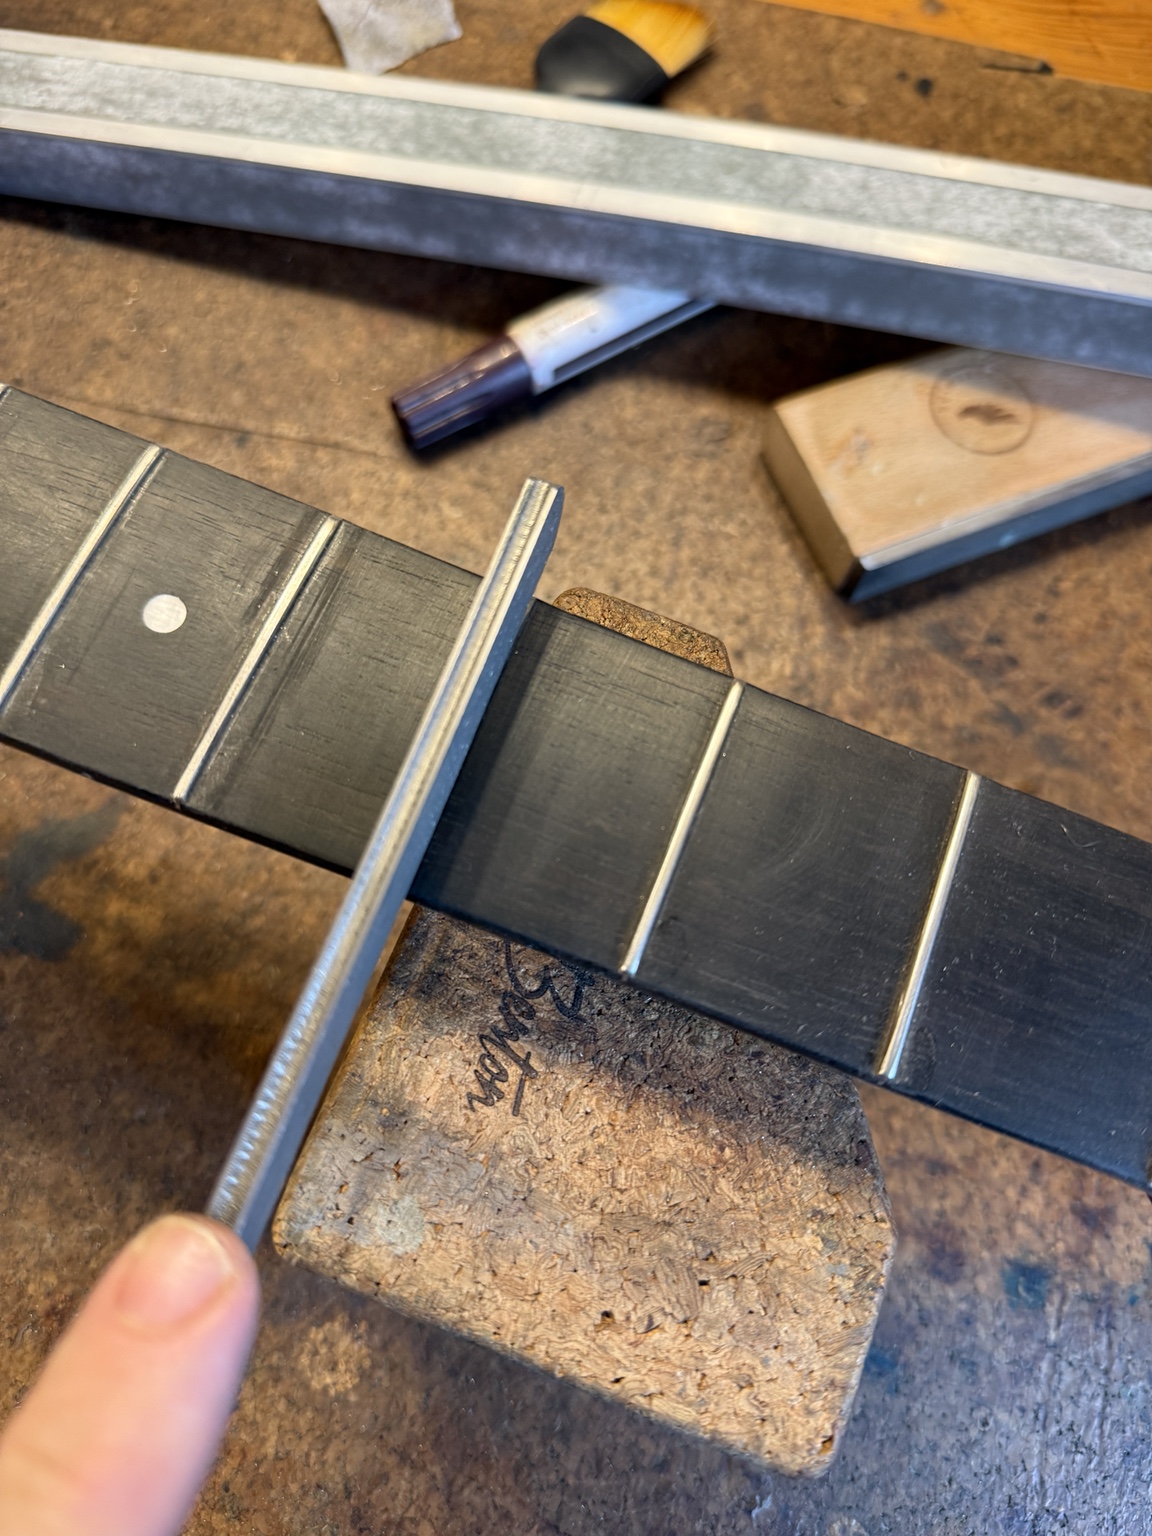
I refine each fret's shape and check the fret ends along the fingerboard edges. Any sharp ends are carefully smoothed.
## Protecting the fingerboard
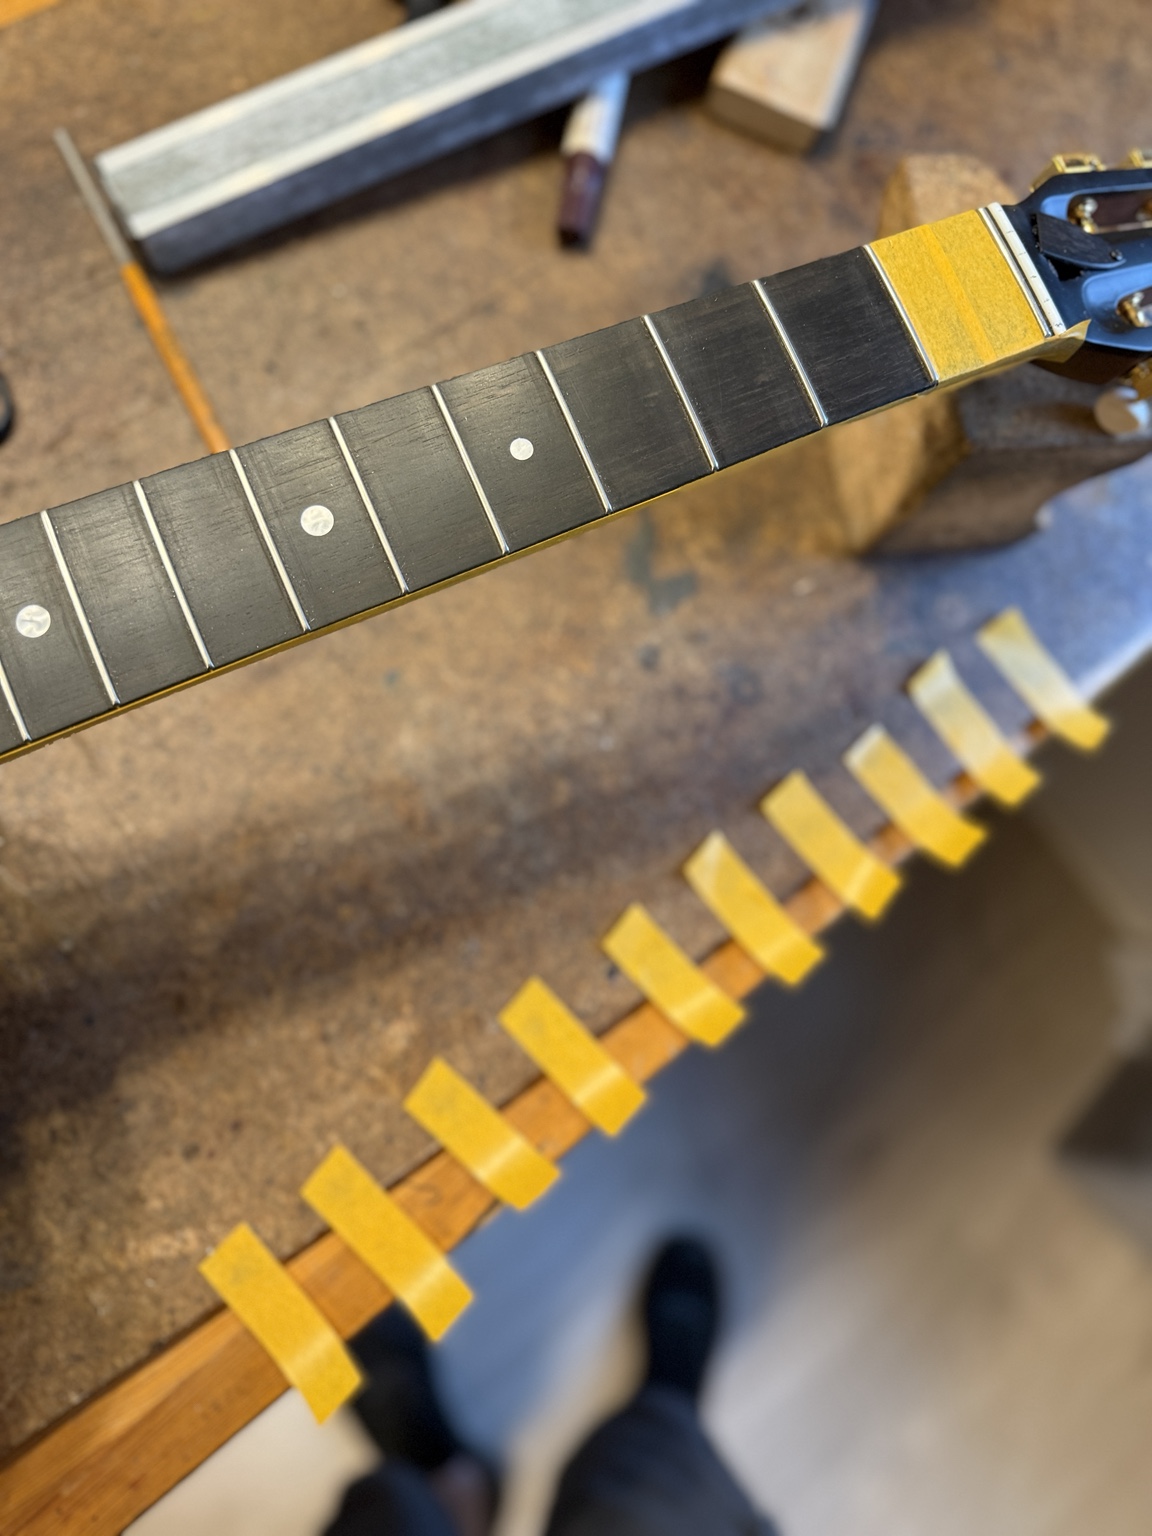
Before the final sanding and polishing, I cover the fingerboard between the frets with protective tape. This helps prevent the tools and abrasives from touching the wood.
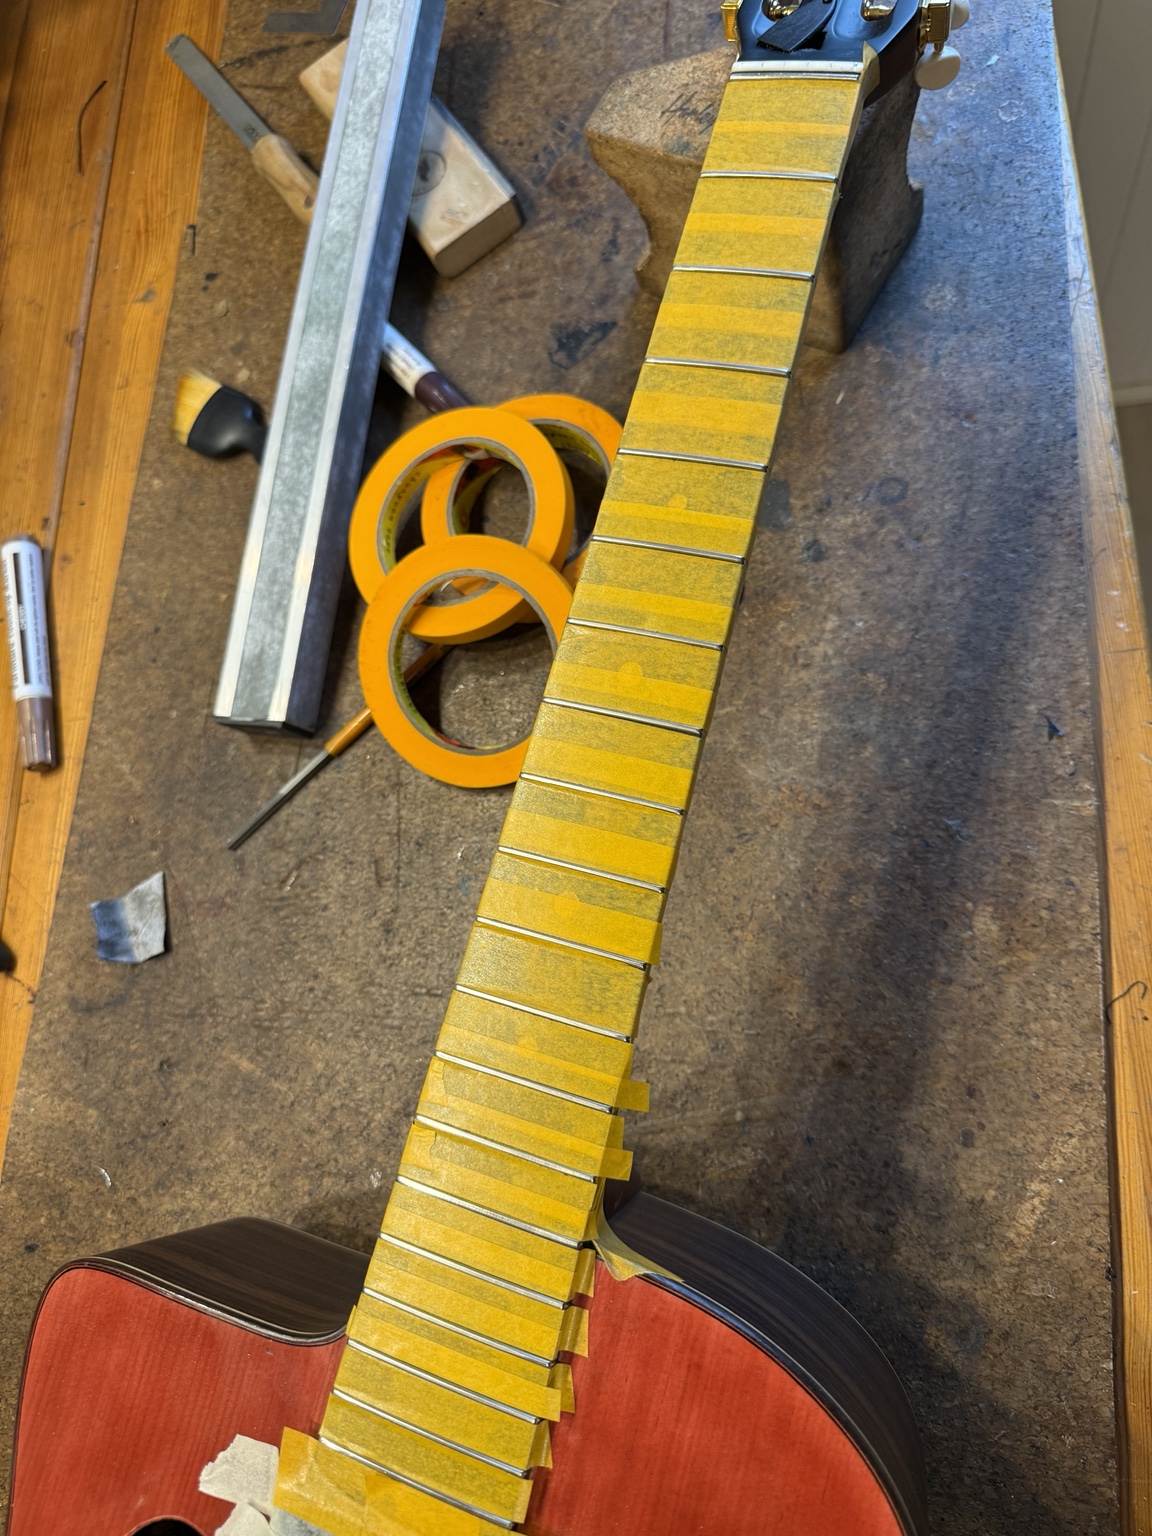
## Fine sanding and polishing
I work through finer abrasives and polish the frets until the sanding marks are removed and the surfaces feel smooth. The difference is especially noticeable when bending strings or using vibrato.
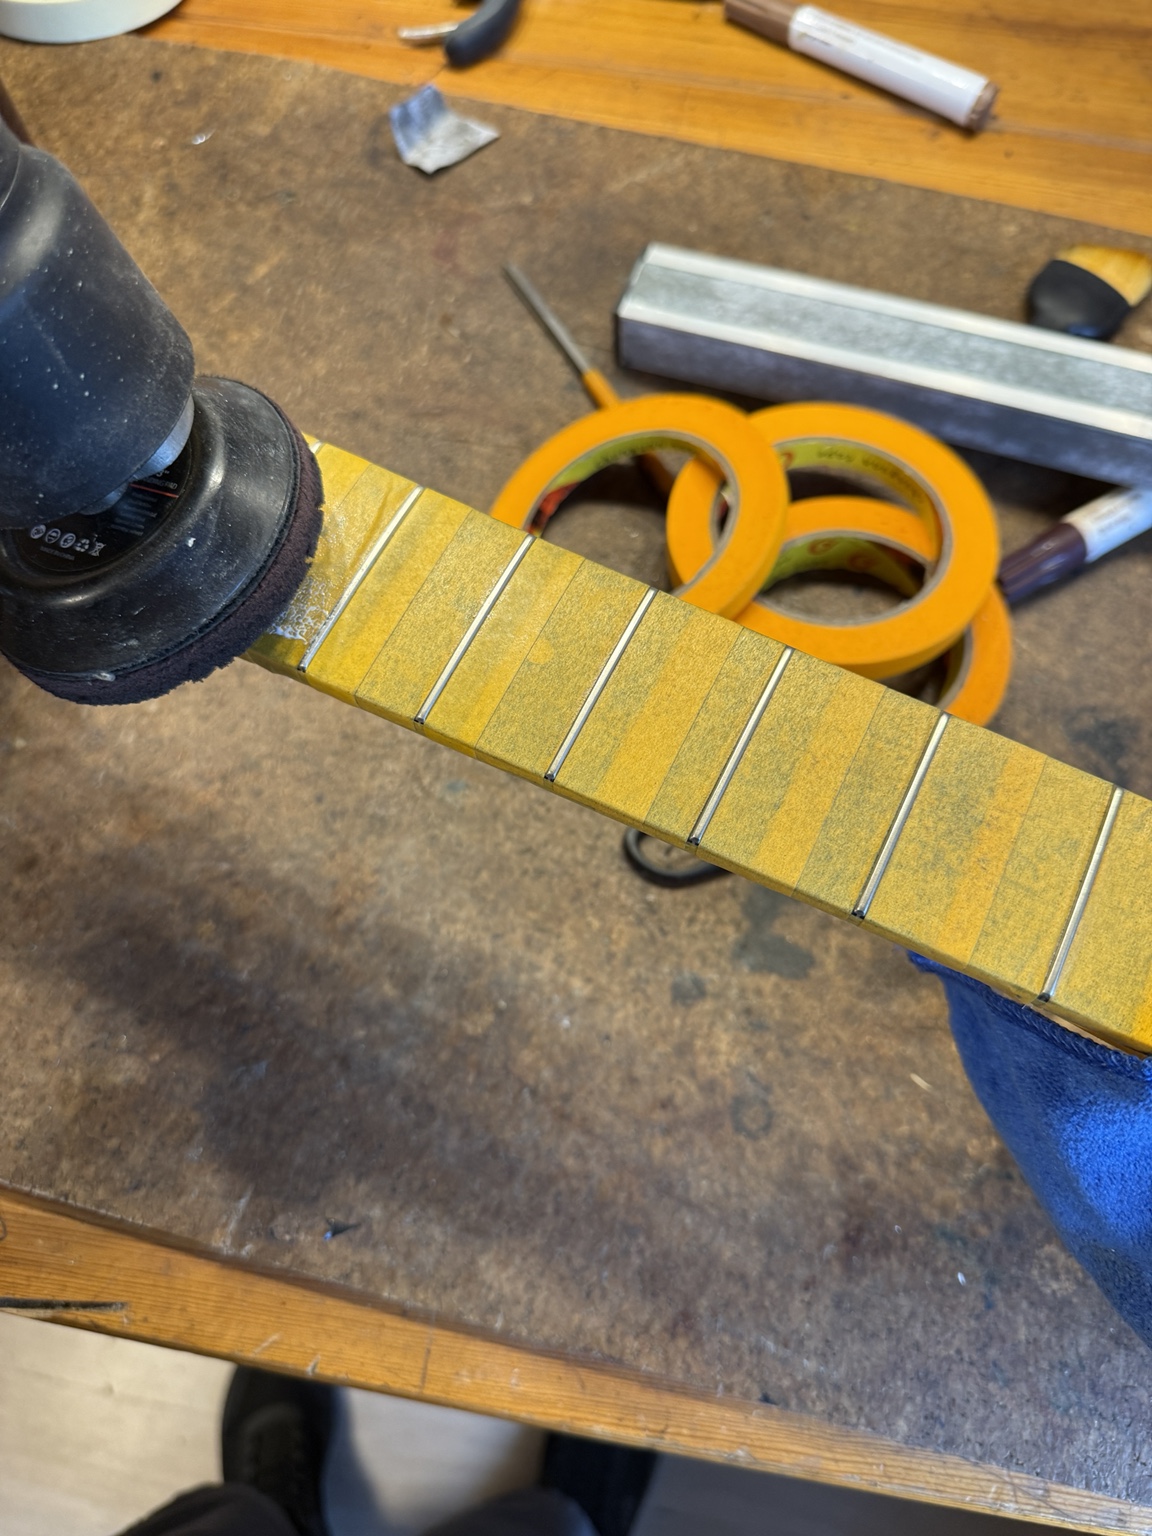
## Cleaning and caring for the fingerboard
After the fretwork, I remove the tape and clean away dust and residue. Where suitable for the wood species and finish, I apply an appropriate fingerboard oil.
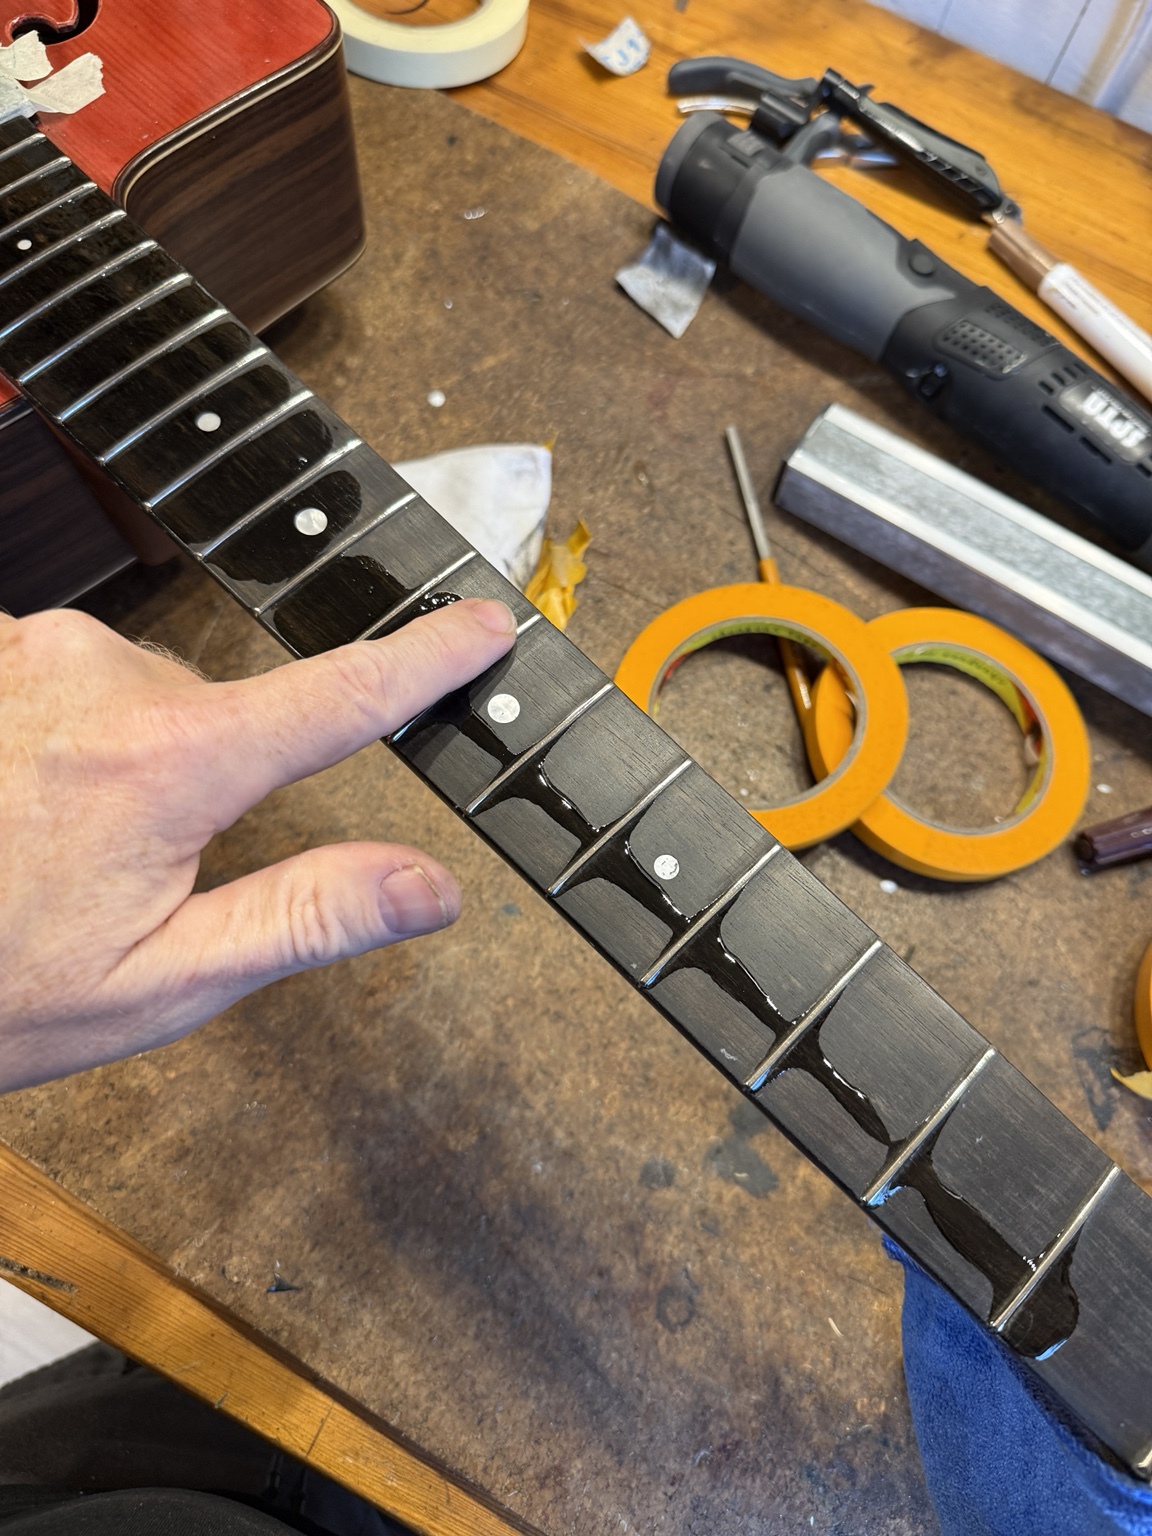
## Ready for new strings and setup
The frets are now level, rounded and polished. Finally, I fit new strings and check neck relief, string action and playability so the notes ring clearly across the fingerboard.
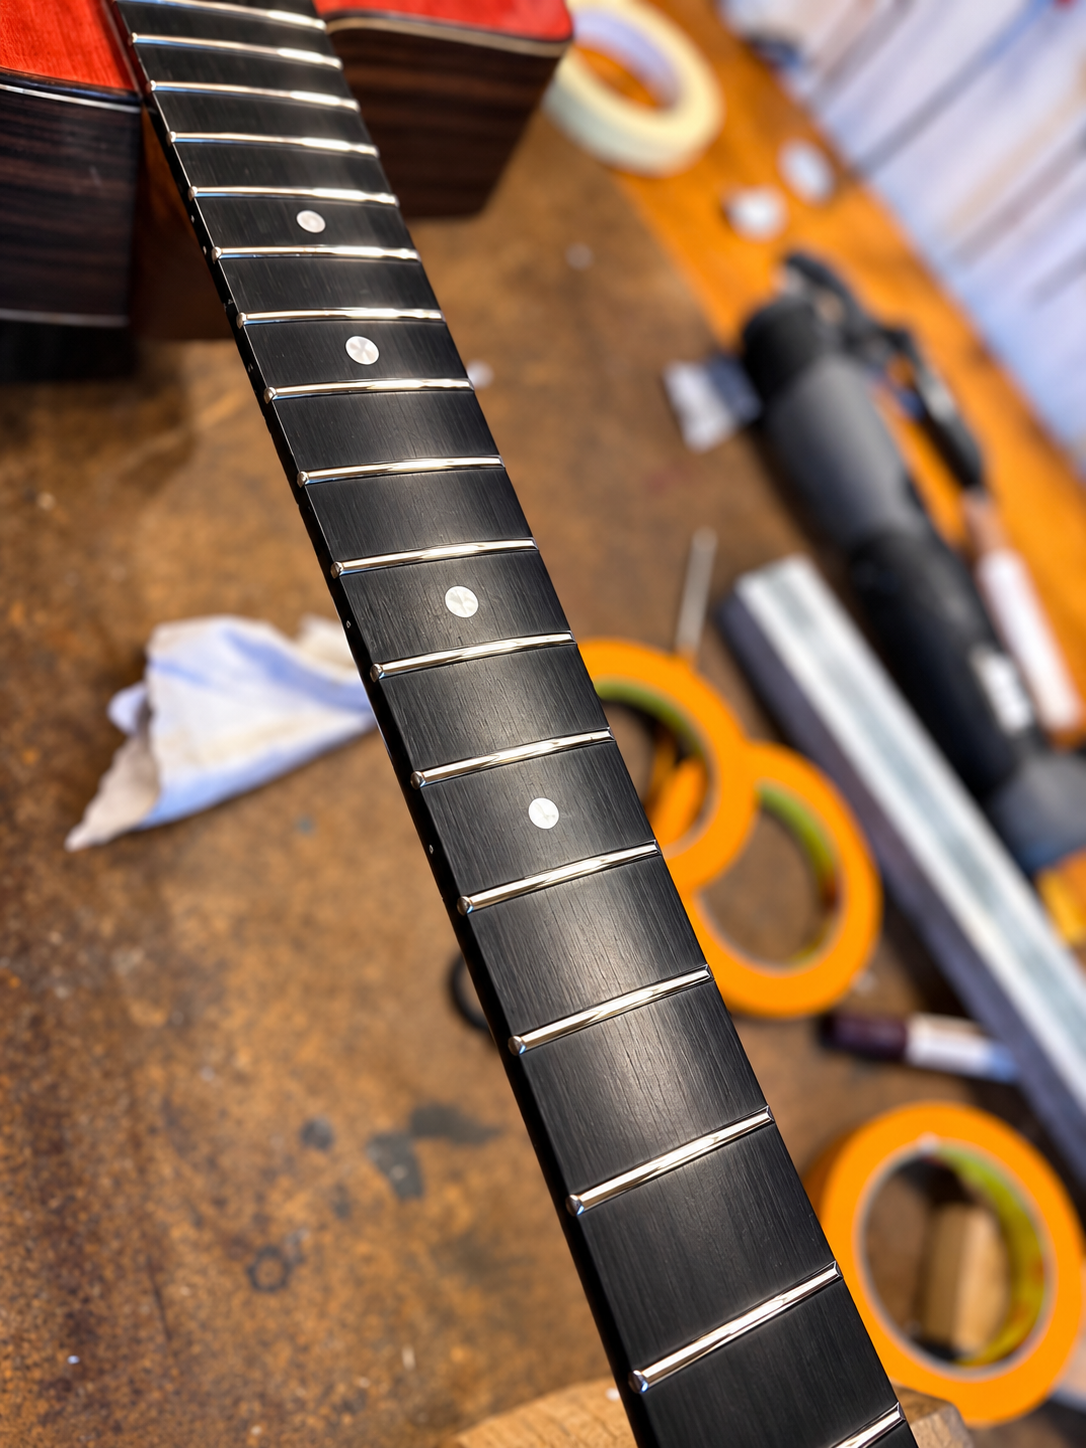
Does your guitar have fret buzz, uneven frets or sharp fret ends? Feel free to contact Michael Staun's instrument workshop in Tornemark, Denmark, to discuss adjustments and fretwork.