Fitting a Cello Bridge – From Blank to Finished Bridge
Follow the fitting of a cello bridge, from selecting the maple blank and shaping the feet to setting string height and checking the final fit. Five original workshop photographs.
A cello bridge does much more than support the strings. It transfers vibration to the soundboard and plays an important role in tone, response and playing comfort. A new bridge blank cannot simply be placed on a cello: it must be carefully fitted to the individual instrument. Here is the process at my workshop in Tornemark, Denmark.
1. Assessing the cello and choosing a blank
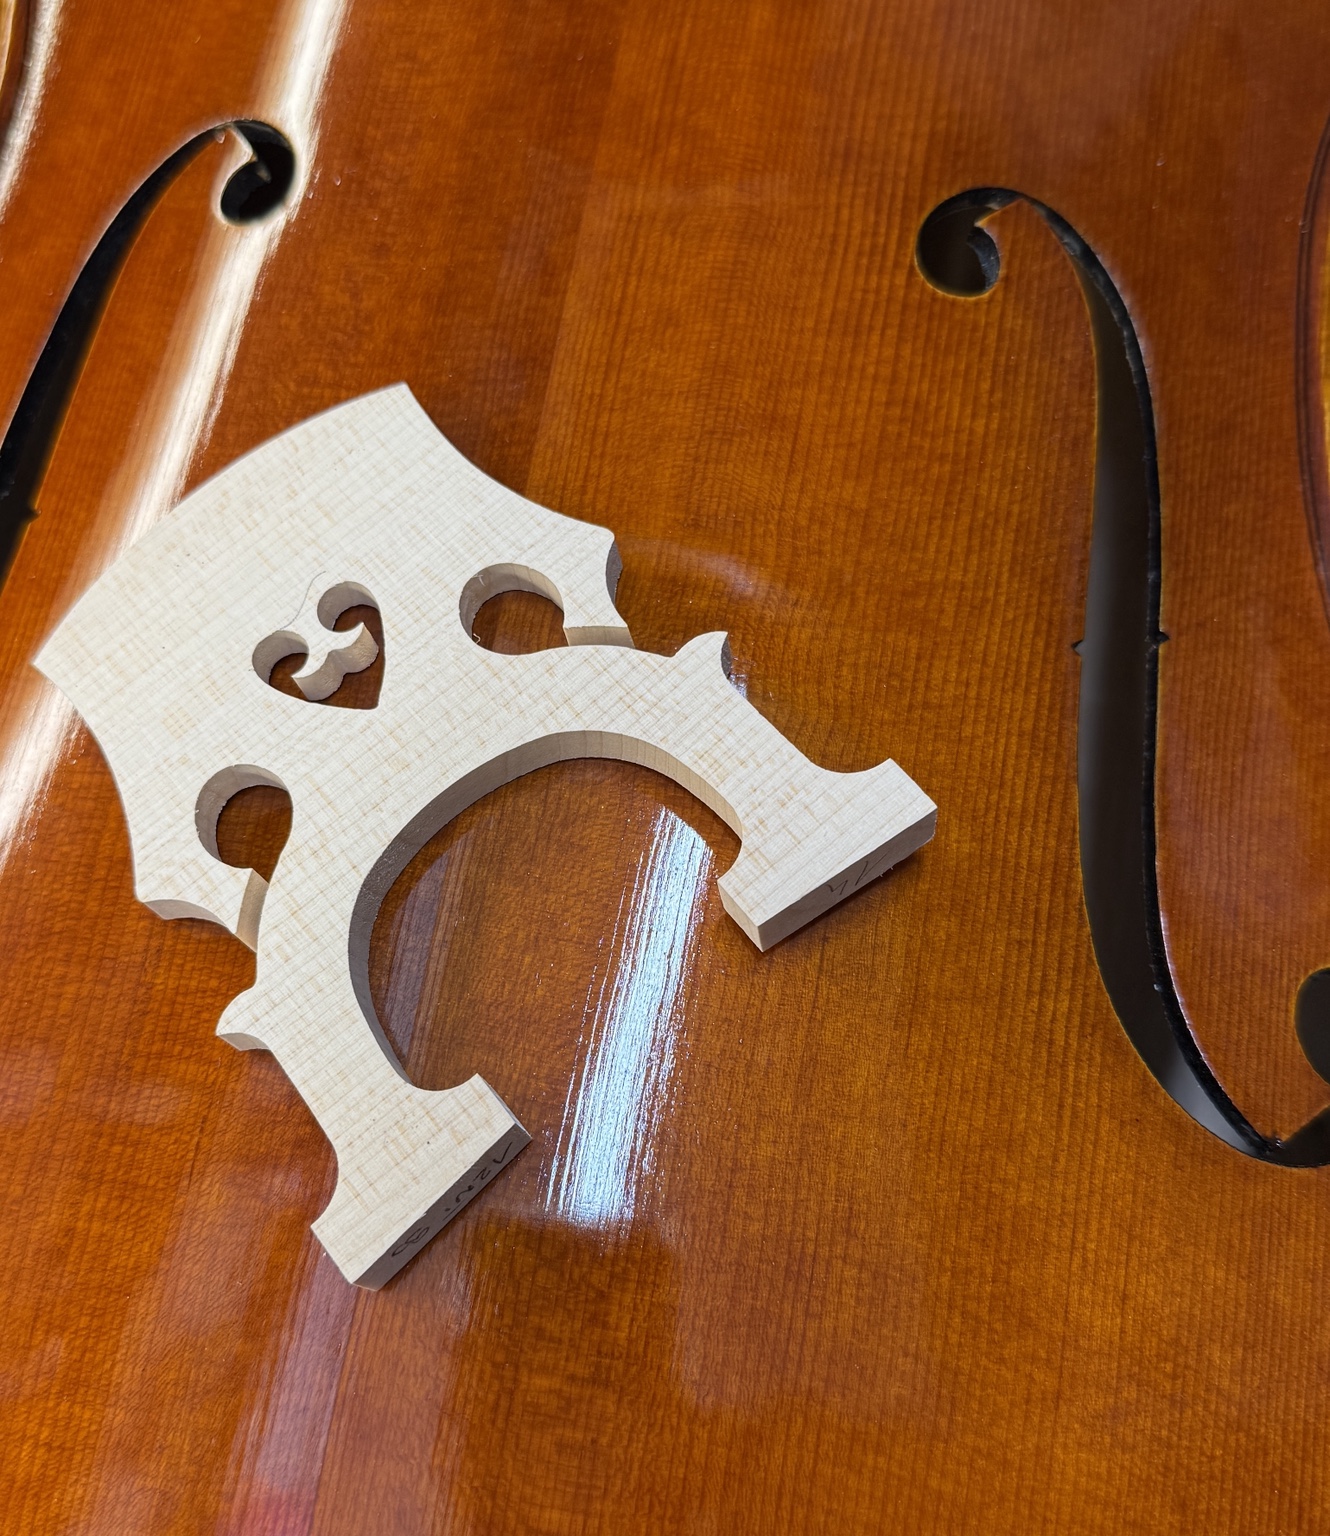
I begin by examining the cello, including the arch of its top, the fingerboard geometry and the existing setup. I then choose a suitable maple bridge blank. The first photograph shows the blank resting on the instrument before fitting.
2. Initial shaping
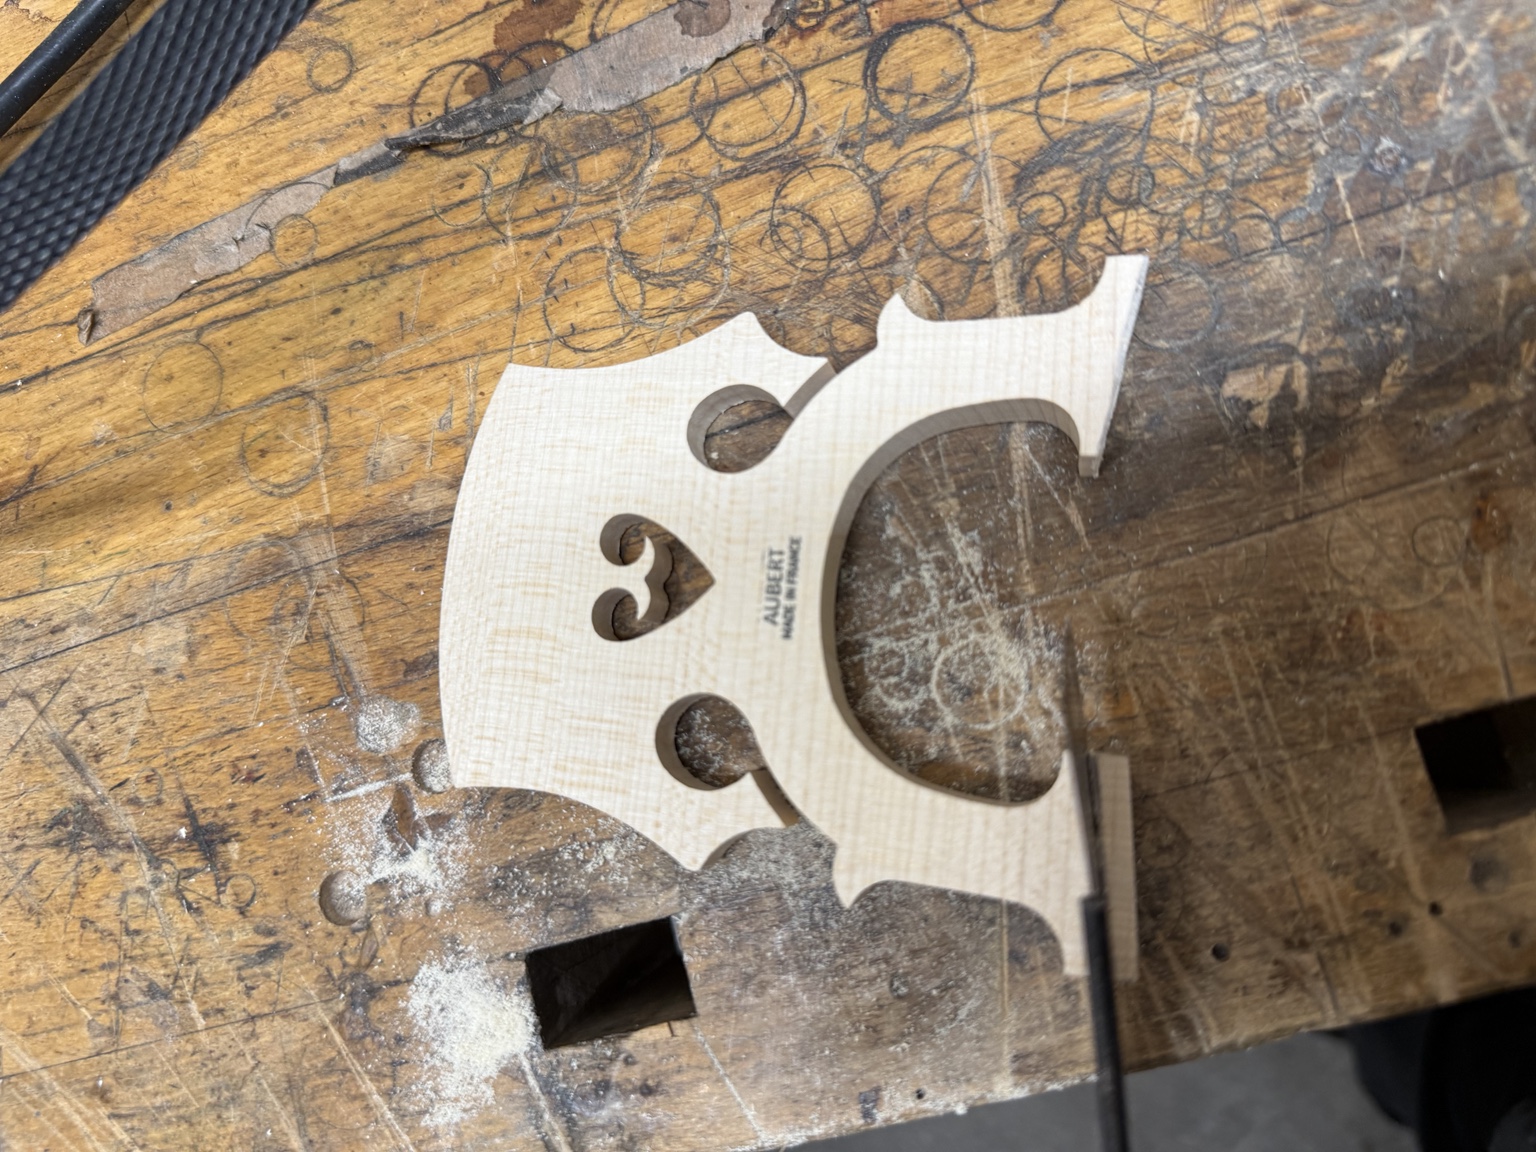
At the workbench, I begin shaping the blank, paying close attention to its proportions, orientation and symmetry. It is important to remove wood gradually and leave enough material for the finer adjustments that follow.
3. Fitting the feet
The feet must closely follow the curvature of the cello's top. The third photo shows a bridge-fitting fixture used to help maintain the correct position during this work. The varnished surface must be protected, and both feet should sit securely against the soundboard without rocking or uneven pressure.

4. Checking the contact
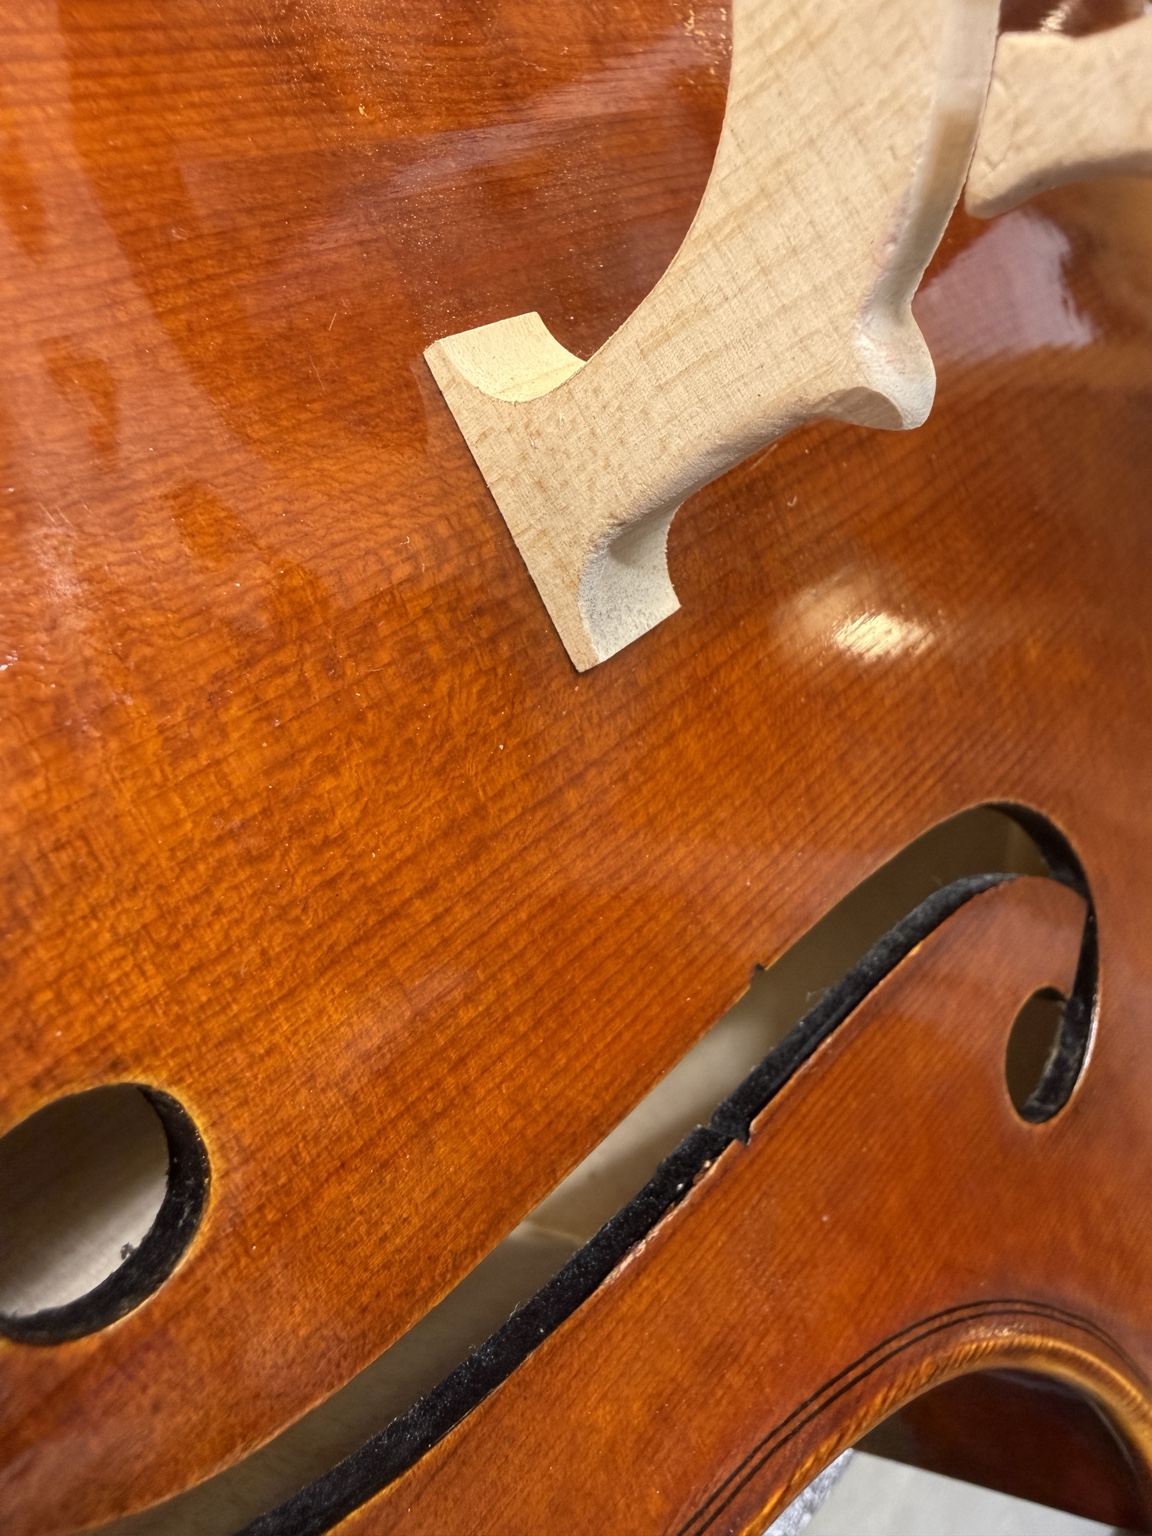
The close-up shows how important the smallest details are. A slight gap between a foot and the top indicates that the fit needs more work. I check the contact repeatedly, making careful adjustments until both feet sit accurately. Patience matters more than speed here.
5. Height, curve and thickness
With the feet fitted, I determine the bridge height in relation to the fingerboard and the desired string action. The upper edge is shaped to allow comfortable bow clearance between strings. The bridge is also refined in thickness and profile, with carefully positioned and shaped string grooves.
6. Final installation and inspection
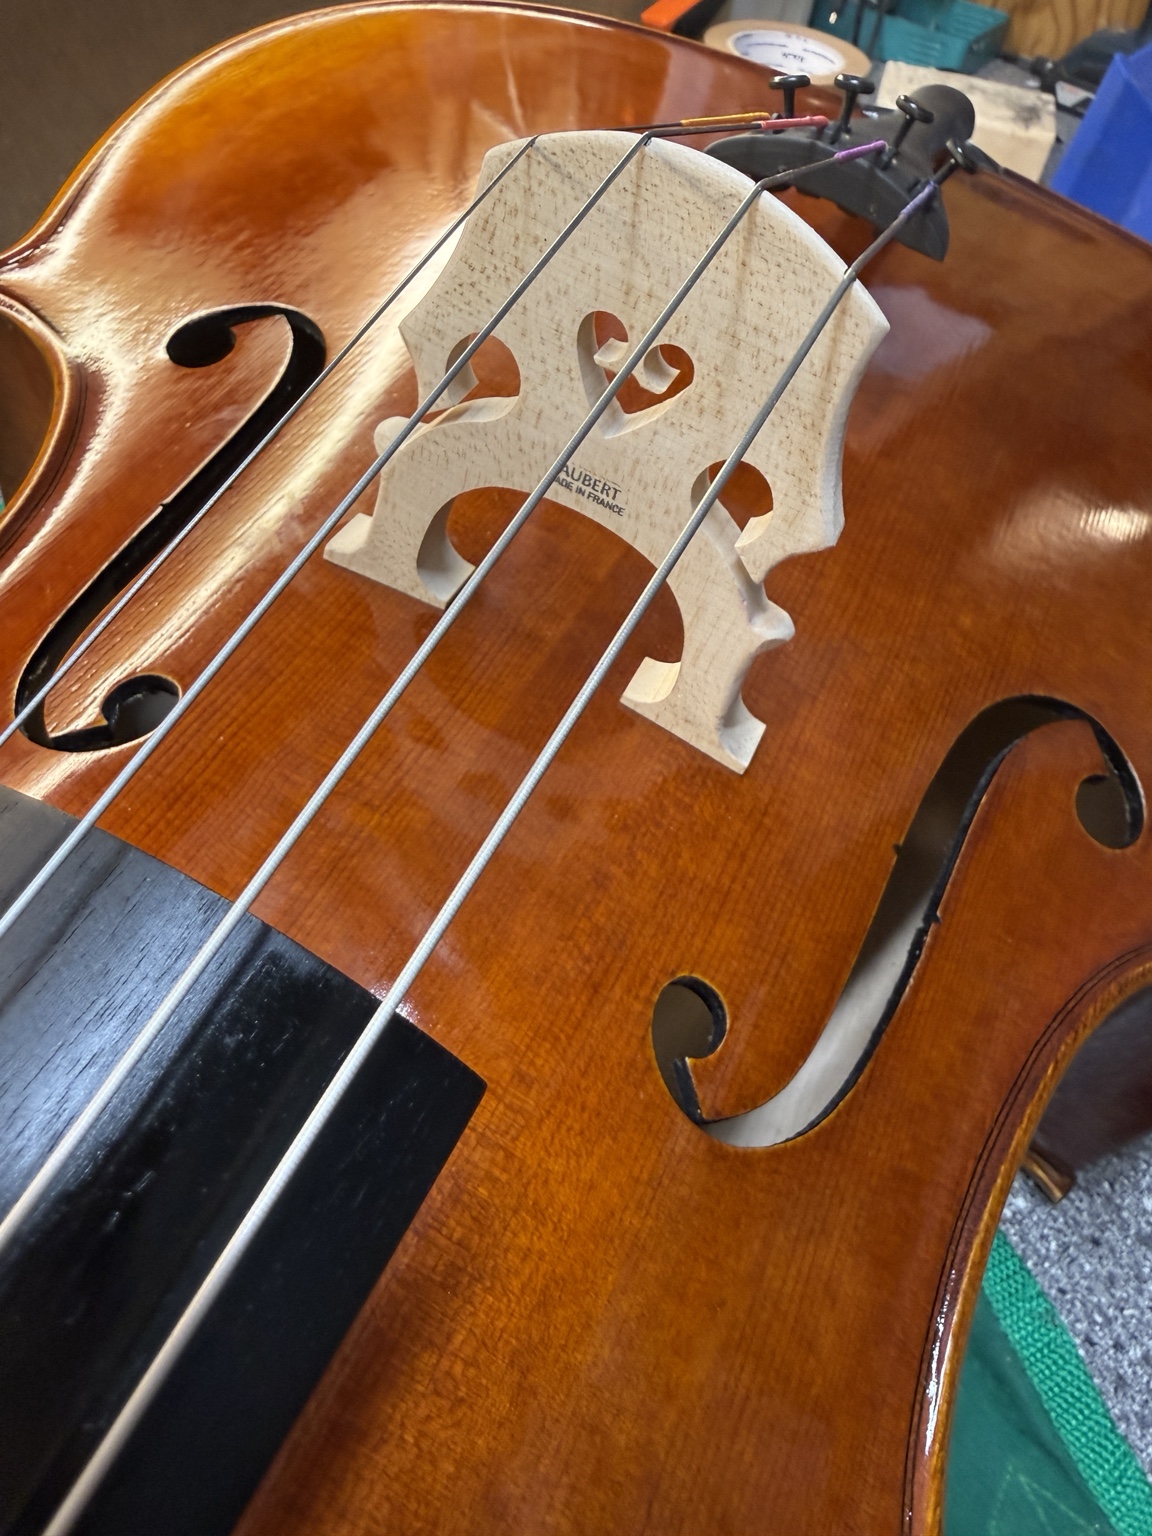
The bridge is positioned correctly, the strings are brought up to tension gradually, and I check that the bridge remains upright. I then inspect string height, bow clearance and playing response. The last photograph shows the bridge installed on the cello. A cello bridge is normally held in place by string pressure rather than glue; care is also needed around the soundpost whenever the bridge is removed.
Small details, significant results
An accurately fitted bridge helps the cello respond freely while remaining comfortable to play. That is why I take time over each stage of the job.
At my instrument workshop in Tornemark I work on cello bridges, string height adjustments and the maintenance of other string instruments. Instruments can also be shipped to the workshop by prior agreement, with suitable packing and return transport arrangements.
Read more about the instrument workshop in Tornemark.
Michael Staun
Instrument Workshop – Tornemark